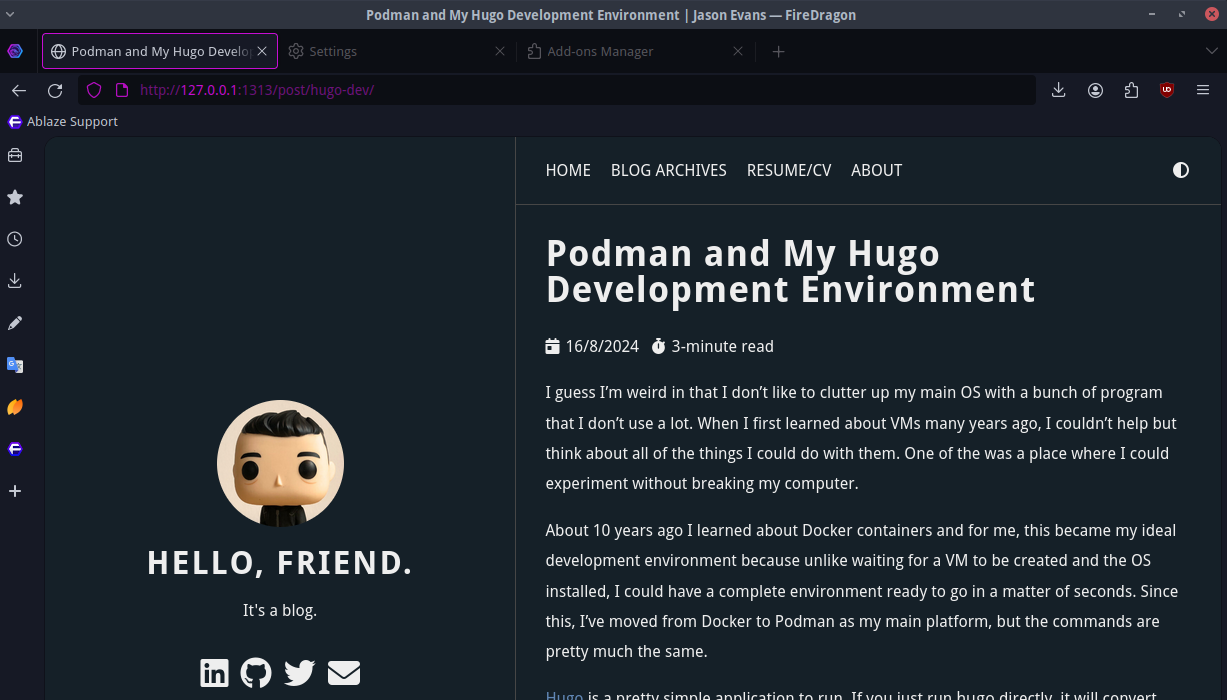
Podman and My Hugo Development Environment
I prefer to keep my main OS clean and uncluttered, avoiding installing too many programs that I don’t use frequently. When I first learned about virtual machines (VMs) many years ago, I realized how useful they could be for experimenting without risking my main system.
About 10 years ago, I discovered Docker containers. For me, containers became the ideal development environment. Unlike VMs, which take time to set up and install, containers allow you to have a fully functional environment ready in seconds. Since then, I’ve transitioned from Docker to Podman, though the commands remain largely the same.
Hugo is a simple application to work with. Running hugo will convert your Markdown files into HTML and save them to the public directory. If you run hugo server, it starts a basic web server to test your site locally. While there are many options available for both of these commands, these are the two I use most often.
But what if I don’t want to install the latest version of Hugo directly on my OS? I can run Hugo in a Podman container based on Ubuntu. Here’s how I set up the container for development:
podman run -it \
  -v ~/git/thewwwdotcom-blog/:/blog \
  -p 1313:1313 \
  ubuntu:latest \
  bash
Let’s break down this command:
podman run -it: Starts a new container in interactive mode.-v ~/git/thewwwdotcom-blog/:/blog: Mounts my local Hugo files from ~/git/thewwwdotcom-blog/ into the /blog directory inside the container.-p 1313:1313: Maps port 1313 from the container to the host, allowing me to access the Hugo server in my browser.ubuntu:latest: Specifies the latest Ubuntu LTS image for the container.bash: Opens a BASH shell inside the container for further command-line interaction. Once inside the container, you’ll be in an Ubuntu terminal shell, regardless of the host OS.
Now, let’s install a text editor and Hugo. I prefer Micro for simple edits:
apt update && apt install hugo micro
With everything installed, I can start the Hugo server:
cd /blog
hugo server \
  --baseURL 127.0.0.1 \
  --bind 127.0.0.1
Setting the baseURL and bind options ensures that the test site runs locally as it would on the internet, but restricted to my machine.
Finally, I can open http://127.0.0.1:1313 in my browser to view the temporary version of my website.
